Everything You Need to Know to Start Shooting Like a Pro
What Is Product Photography?
Product photography is all about capturing images of objects with the purpose of selling them. These photos usually appear on websites, social media, online stores, ads, or product catalogs.
Why Is Photography Important for Business?
Let’s face it—many businesses still ignore social media, and that’s fine if it fits their strategy. But if you want to grow, you need to grab the customer’s attention at key moments. And one of the best ways to do that is through visuals.
Product photography isn’t just about making something look pretty. It’s about making the customer feel like the product is for them. It’s storytelling with images that convert viewers into buyers. And this law if for all business from small to big companies
How to Do Product Photography
Pre-Production: Plan Before You Shoot
Before you grab your camera, get to know the product. What are its colors, variations, and uses? More importantly, who is your ideal customer?
Example: Let’s say you’re photographing a suitcase. Sure, all suitcases have zippers and pockets, but the marketing changes depending on the audience. A business traveler needs a different vibe than a backpacker or a parent packing for a family trip.
That’s why you should create a mood board (an inspiration board) before shooting. It helps you define the style, tone, and story of the photo.
Best Product Photography Setup
Product photography setups vary depending on the product’s size and the concept you want to create.
Example setups:
- Simple shots: A necklace in a jewelry box or on display doesn’t need a complicated setup.
- Lifestyle shots: If you want to photograph the same necklace on someone relaxing in a bathtub for a luxury look, you’ll need props, staging, and a mood.
Always start by defining what kind of photos you want. Then build your setup around that idea, adjusting for budget, space, and equipment.
Best product photography kit in Amazon
Product Photography Background Ideas
Different backgrounds create different emotions. Here are the main types:
1. Natural Backgrounds
Real-life environments without studio equipment. For example, a picnic scene in the park for coffee products.
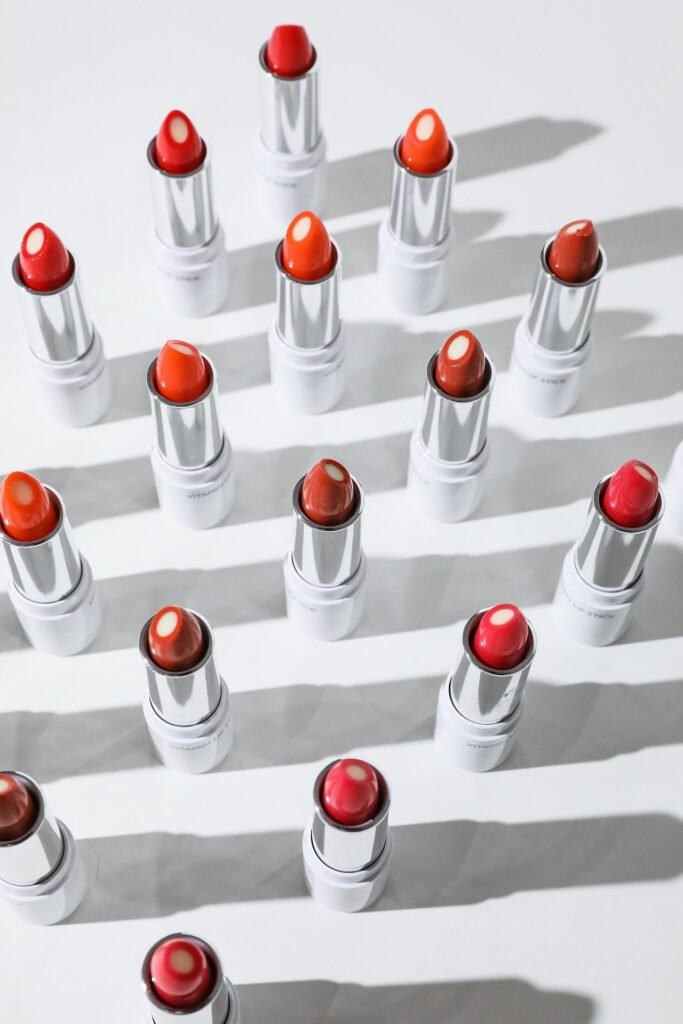
2. Monochrome Backgrounds
Solid color backdrops (usually white, black, or gray). These are perfect when you want the product to pop. Think fashion shoots with the focus on the model’s clothing, not the setting.
3. Acrylic or Staged Backgrounds
These are mini-setups built for small products. You’ll often use two acrylic panels—one for the floor and one for the wall—to create a clean, controlled environment.
Pro tip: Make sure your background matches your customer. The viewer should see themselves using your product.
How to Light Product Photography
Lighting can make or break a product photo. Luckily, product photography lighting is often simpler than you think.
Natural Light
If you’re using the sun, pay close attention to the shadows. The sun moves constantly, so timing is everything. Use curtains or white sheets as diffusers if the light is too harsh.
Artificial Light
The basic setup includes:
- One main light
- One fill light to soften shadows
- Optional: A backlight to separate the product from the background
For small products, 300 watts or less is usually enough, but it depends on your space and scene.
If you’re on a budget, consider using a light box. They’re small, portable setups with built-in LED lighting—perfect for jewelry, gadgets, or food. Just remember, you’re limited to products that physically fit inside.
Recommended amazon options:
Product Photography Light Box
Product Photography Ring Light (More flexible than a box and still budget-friendly)
What Camera and Lens for Product Photography?
This site focuses on lighting, but here’s a quick camera guide:
- Use any camera that shoots in RAW
- Make sure it has manual mode
- Compatible with interchangeable lenses
- Look for a large sensor
- Use Live View for better preview
Lens recommendation: 60mm–100mm is perfect for most product shots.
What Aperture and ISO for Product Photography?
If you’re a beginner, using auto mode is fine. But if you want to go pro, here’s what you need to know:
- Keep ISO between 100 and 500 to avoid noise
- For sharp images, use f/8 to f/16
- Adjust aperture depending on the scene (wider for bright light, narrower for movement or precision)
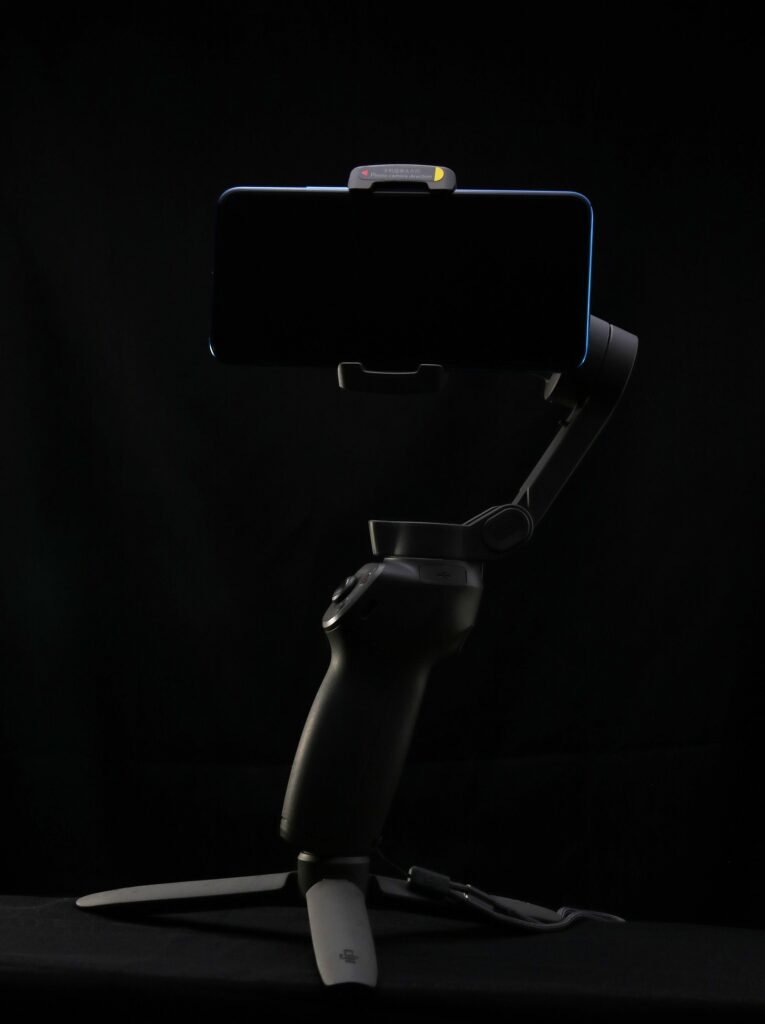
Do You Need a Tripod for Product Photography?
Not always! You can stack books or find creative ways to stabilize your camera, but if you want pro results, use a tripod.
Recommended:
- Product Photography Tripod
Product Photography Tips
Here’s what you should always keep in mind:
- Focus on your ideal customer, not just aesthetics
- Use manual mode to control exposure
- Shoot in high resolution—24MP is a good standard
- For instagram Make the photos aestetic
product photography examples


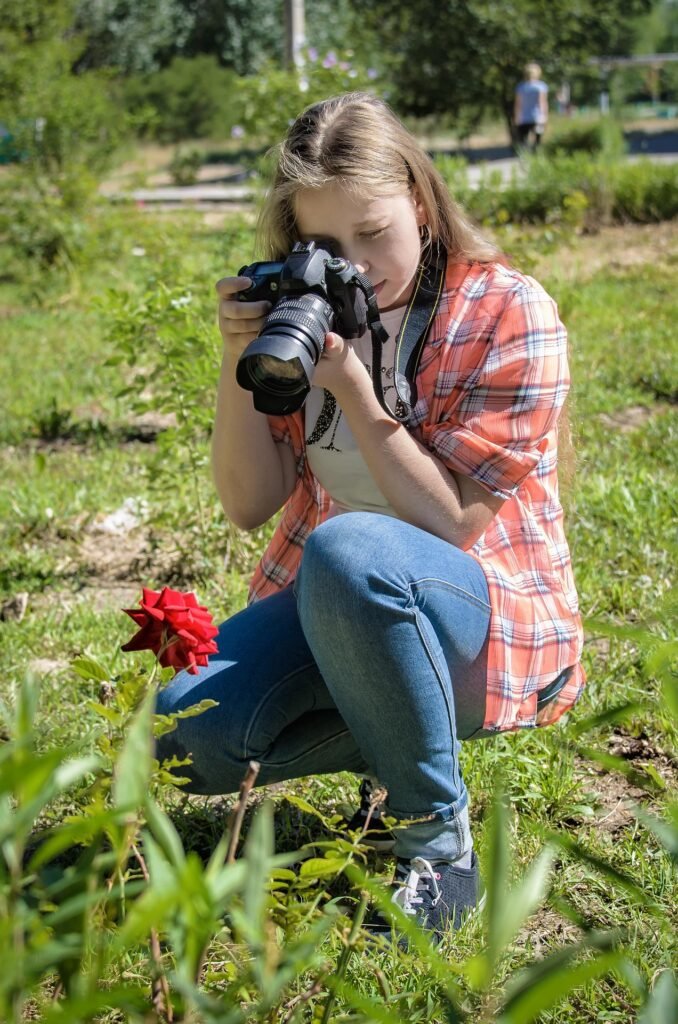
How to Do Product Photography at Home (or with an iPhone)
Yes, you can shoot pro-level product photos at home, even with a phone.
Steps:
- Plan your concept (colors, props, background)
- Use window light or artificial lights
- Set the product carefully—make sure it’s clean and looks its best
- Take the shot using manual focus or tap-to-focus on your phone
Are Product Images Copyrighted?
It depends.
- Stock images: Usually free to use under license agreements (some require credit)
- Your own images: You own them unless you’ve signed a contract giving rights away
- Social media uploads: Platforms often get usage rights when you post, so read the terms
Where to Learn Product Photography
We recommend these Udemy courses for beginners and pros alike.


Best Books on Product Photography
Check out our recommended Product Photography Books for deeper learning.
Product Photography for Clothing and watches
Clothing is one of the most photographed products. Here are some tips:
- Know your target audience
- Use color coordination
- Less is more—avoid clutter
- Use models, but keep the focus on the clothes
- Keep shadows minimal to preserve fabric texture
- Steam and prep clothes properly—no wrinkles!
Product Photography for Food
Some tips that really work:
- Understand your ideal customer
- Use plates, trays, and utensils to set the mood
- Use the rule of thirds, don’t always center the product
- Play with shadows for elegance, or use bright colors for a fun, youthful vibe